Introduction
Creating professional illustrations is not just about drawing — it’s about following a structured process. A good workflow helps you save time, avoid mistakes, and produce high-quality results.
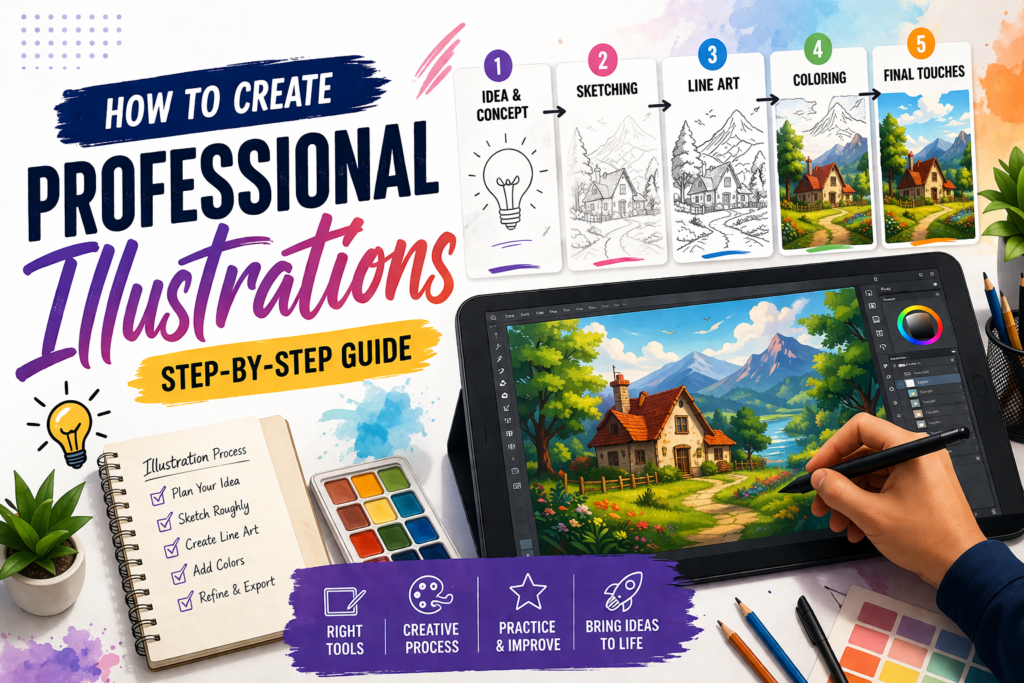
In this guide, you will learn step-by-step how to create professional illustrations.
Step 1: Idea & Concept

Start with a clear idea.
- Think about what you want to create
- Collect reference images
- Plan your concept
👉 A strong idea makes the whole process easier.
Step 2: Sketching

Create a rough sketch.
- Focus on layout and composition
- Keep it simple
- Don’t worry about details yet
👉 This step helps you visualize your design.
Step 3: Line Art

Refine your sketch with clean lines.
- Draw smooth and precise outlines
- Define shapes clearly
- Add important details
👉 Clean line art makes your illustration look professional.
Step 4: Coloring

Add colors to your design.
- Choose a suitable color palette
- Add shadows and highlights
- Create depth
👉 Colors bring your illustration to life.
Step 5: Final Touches

Enhance your illustration.
- Add textures and effects
- Adjust brightness and contrast
- Fix small mistakes
👉 This step gives your artwork a polished look.
Best Tools for Illustration
- Adobe Illustrator – Best for vector designs
- Photoshop – Ideal for detailed artwork
- Procreate – Easy and powerful for iPad users
- Canva – Beginner-friendly tool
Common Mistakes to Avoid
Over-Detailing
Too many details can make your design look messy.
Wrong Color Choices
Poor color combinations reduce visual impact.
Skipping Planning
Starting without a concept leads to weak designs.
Conclusion
Creating professional illustrations requires practice, patience, and consistency. By following a proper process, you can improve your skills and create high-quality designs over time.